
To begin sewing the filters, I’ve cut my panels out of a cotton muslin, four pieces for the inside and the outside of the filter. I’m going to start with a quarter inch straight stitch on the curve of both the front and the back, or the inside and outside. The next thing I’m going to do is I’m going to use my pinking shears, and remove the excess bulk so that we have a nice flush curve on that curved seam. I’m going to open it up and with my fingers, I’m going to give it a little finger press. I’m using my foot to hold my fabric panel in place.
With the right sides together, I’m going to line up the center, seams pressing one seam to the right in one seam to the left. I don’t think that there’s any need to pin here. Cotton muslin is very easy to work with. I’m just going to line everything up, and stitch across the top, and also across the bottom, leaving the left and the right sides open. Again, I’m going to stitch at a quarter inch. If you’re more comfortable, you could also do three eighths of an inch. I find that a quarter inch usually runs right alongside the presser foot. So just to make sure that my right, left center seam are going different directions. I’m using my pointer to help me keep everything in place.
As I pull away, I am going to use my pinking shears to trim everything and to remove any bulk from those top and bottom scenes. You can pick your pattern pieces when you cut them. I’m also going to trim these edges on each the left and the right side, with the pinking shears as well. You can cut your pattern pieces with pinking shears to start, but I prefer getting in close to my stitch seam, it just makes for a nicer piece.
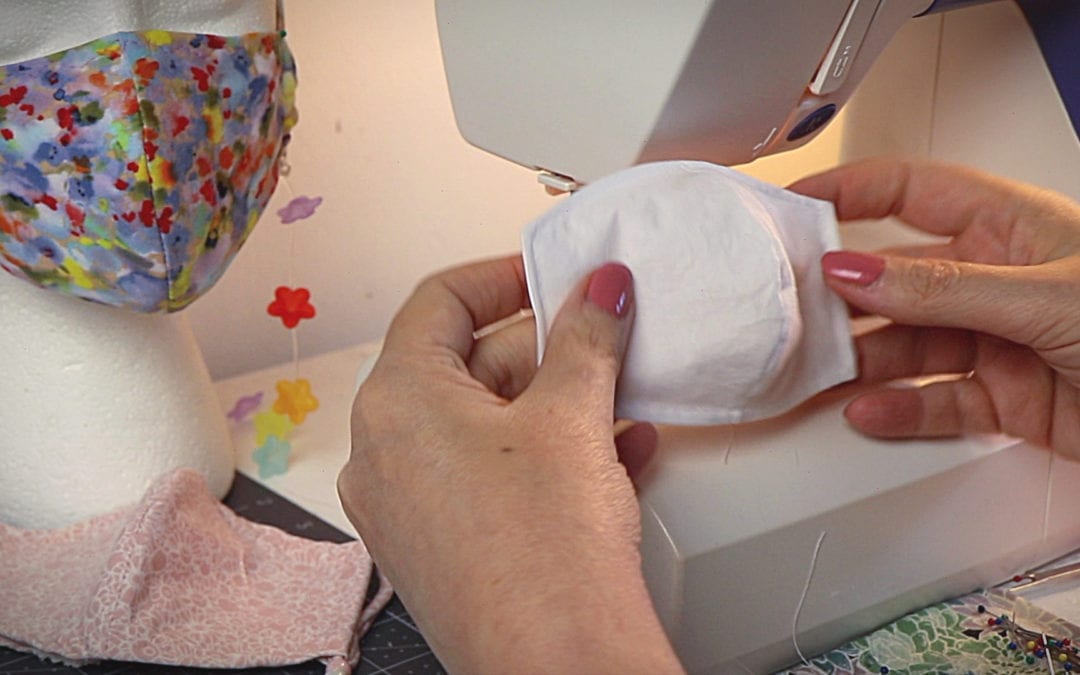
Now I’m going to do my least favorite thing, and that’s turning things right-side out. My seams came together beautifully, where the center seam and the side seams meet. I’m going to do a little finger press, using my pointer to help me. Same thing on the opposite side. I’m going to just tuck in that left or right side at about three eighths of an inch. Quarter inch, three eighths of an inch is about right. I’m going to straight stitch that down, continue to straight stitch across the top or the bottom of the filter. I’m prepping the opposite side by tucking that in.
The pattern is a little longer for the filter, so you’ve got plenty of room to work with. I’m using my pointer to keep everything nice and flat and flush, as I’m sewing a straight stitch at an eighth of an inch. Going slowly where it’s thick, flattening out with my pointer. It’s such a great tool. It’s my third hand. We’re going to pivot and turn and go across the bottom. Again, I’m using that pointer just to keep everything nice and flat. Since I’ve already finger pressed those seams, this should just sew up very quickly. It’s probably under two minutes to make these filters.
I used cotton muslin, but you could use whatever cotton that you prefer. I like having the knit mask for a better fit with a cotton filter. This hybrid mask makes it so the kids can change their filters throughout the day. It’s got lycra spandex in, so it’s made to fit. It’s made to hug the curves and contours of your face. The cotton muslin in the center also helps to keep a cup shape. My next tutorial is going to be how to make the mini knit mask. Everyone, thank you so much for reading! Be well, take care, God bless and keep sewing, it’s good for the soul.

Recent Comments