
I’m going to share my easy way to make pleats for a face mask. I’m not a fan of pleats, to me they’re a headache and time-consuming. But seeing how many are making or preferring to make pleated face masks it is necessary to overcome this task! After my first round of 2 to 3 dozen pleated face masks – I declared war on pleats and said there has to be a better way. Inspiration struck me – and here’s my hack.
I showed this in one of my first YouTube videos, ‘Easy Hack for Making Pleats for a Surgical Mask’ on March 24, 2020 just as lockdown across the USA began. Back then, I wasn’t too worried about my camera angles, or even if I was in the frame of the camera, (forgive me), this was just me trying to help the world solve a problem. Pleats are a nightmare and we all knew it. So, I put together a quick video of my hack, bad camera angles and all, and in short this is the hack. It works well for any pleated mask, any size pleated face mask.
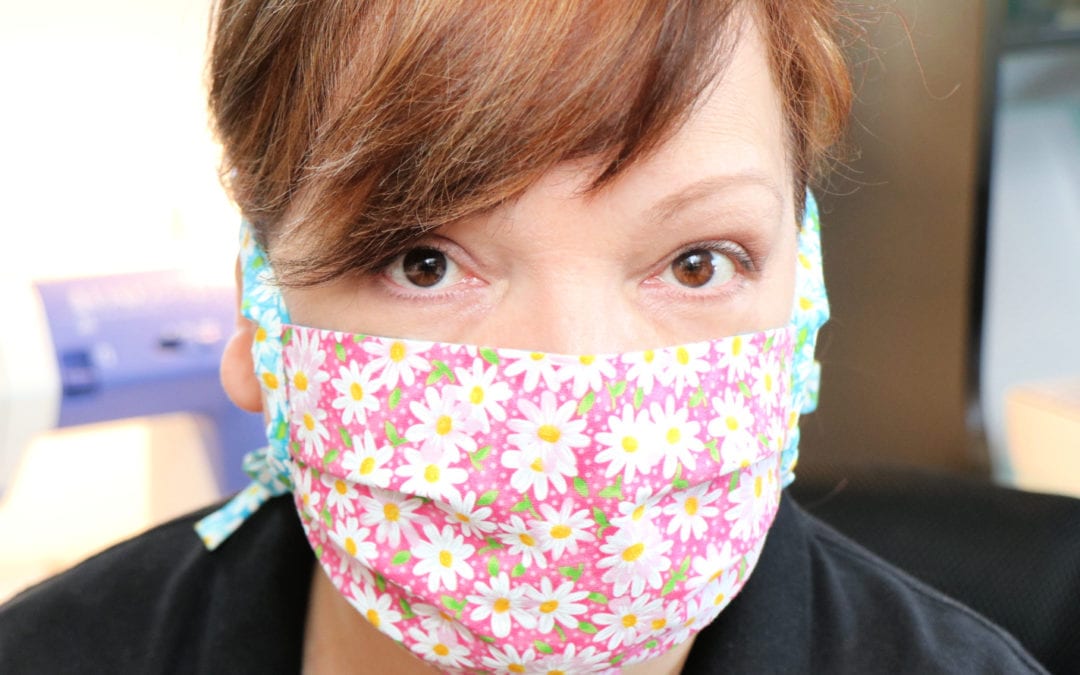
With an iron, and an ironing board press your mask longways dead center. The press from the outside edge to center, and repeat for the opposite edge. This will give you 3 distinct creased presses in the mask. In each one of those creases is a pleat, and it is the bottom of your pleat.
Fold the first crease halfway to the space between the first pressed crease and the second, and pin it. Repeat with the second pressed crease, bringing it halfway to the third cease and pin it. The repeat with the third crease. Each crease is the bottom of your pleats, and the space in-between pleats is where you should be folding to and pinning. It’s that simple.
Make sure that the pleats are not on top of each other, that they’re separated from each other; but right next to each other when pinned. Also check that you’re pleating the pleats in the same direction on both left and right sides.
Sew to baste them down, going in the direction of the pleats. It’s smart to switch direction for left/right so that the presser foot doesn’t get into a battle with your perfectly pinned pleats while sewing! Super easy!
I make my strings which are (2) strings 44″ long, made into half inch bias tape with a bias tape maker. If you don’t know how to make the strips of a fabric, see this video.
For my pleated surgical masks, I made them in bulk. But the final cut pattern was 8 x 6.5” for adults, and 9 x 7” for adults large and kids. I did 7×5” and 6×4”. I always sewed my fabrics together first, turned, pressed and cut to size and then made my pleats before finishing them with the ½” tape I made with a bias tape maker. However note – it is technically not bias tape.
That’s my hack, super easy breezy! If you enjoyed following along, subscribe to us on YouTube, because my hacks and tips are a daily adventure!
Be well, keep sewing, it’s good for the soul. 🙂
Recent Comments